Churros - My Favorite Donut Recipe

What are they like?

-Moist & Light

-Doused in cinnamon sugar

the best dairy free gluten free churros recipe
 

Recipe

These churros are moist, light, and doused in cinnamon sugar. They are my favorite doughnut that I have made to date, and they are as easy to make as muffins. I have diverged from the classic choux-based dough to simplify, and I believe, to create a spectacular treat.

Some people are nervous about cooking with oil, but I assure you that it is straight forward and with a little patience you will end up with some spectacular churros and have a new skill under your belt. 

Dry
1 cup flour blend
3/4 tsp psyllium husk powder
1 tsp baking powder
1/4 tsp salt
1/4 tsp allspice powder

Wet
1 egg 
2 tbsp sugar (plus about 3/4 cup sugar and 1 tsp cinnamon for “dipping” donuts)
1 tbsp oil 
1/4 cup apple sauce, 60g
3 tbsp water 

For cooking
-1 quart of flavorless high smoke point oil (about 950 ml), such as canola, sunflower or grapeseed (see note) 
-Temperature gauge 

Directions:

  1. In a medium sized bowl, whisk together the dry ingredients. 

  2. In another medium sized bowl whisk together the wet ingredients. 

  3. Add the 1 qt (about 950 ml) of oil to a two quart pot (or a wider pan/pot works fine too). Heat the oil to 350F/175C.     

  4. Using a large spoon, fold the dry ingredients into the wet ingredients and stir just until combined. Place the batter in medium sized pastry bag fitted with a 1/2 inch (1.5 cm) tip (see note). If you do not have a pastry bag, you can simply use a plastic food storage bag, fill it with the batter, and then cut 1/2 inch (1 cm) off of the corner. 

  5. Increase the oil temperature to 375F/190C. Then pipe the batter into the oil, making about 5 straight-ish donuts, each about 4 inch / 10 cm long. Be sure to keep a close watch on the oil temperature so that the temperature stays between 360-375F (182-190C) at all times. Adjust the heat as needed (see note). 

  6. Allow the churros to cook until golden brown, about 2 minutes, then flip them using a slotted spoon. If you have trouble flipping them, they have probably cooked a little too long. Cook on the second side until golden, about 2 more minutes. Remove them from the oil with a slotted spoon to drain on a plate or rack covered with paper towels. After about a minute, place the churros in the bowl with cinnamon sugar and sprinkle it over the donuts. Place the cooked donuts on a plate or rack and cook the next batch and repeat the steps.

These churros are best eaten fresh! 

Notes:
Shape:
You can use a round or star tip; however, because the batter is quite loose/wet, the “edges" of the churro will be round, even if you use the star tip. Now, if all of your churros do not come out identical in shape, do not worry. If some are curly or squiggly and they will still taste amazing. 

Oil temperature: Often the temperature of the oil drops some when the batter is added since the batter is relatively cold, which requires that you turn the heat up for a couple of minutes to bring it up to temperature, before turning it down again. People who fry often have a fryer which regulates the temperature for you. 

Double Chocolate Hazelnut Cookies

What are they like?

-Crisp on the outside & Chewy on the inside

-Full of Hazelnuts & Chocolate Chips

the best dairy free gluten free double chocolate hazelnut chocolate chip cookies
 

Recipe

These cookies are exquisitely chewy and chocolaty, with the delicious crunch of hazelnuts. They are also made with one flour, buckwheat flour, but you would never know it. The natural nuttiness of buckwheat pairs so well with chocolate that it is a match made in heaven. I hope you enjoy them as much as I do.

Dry
1 cup buckwheat flour, 136g (try 3/4 cup?)  (And add 1 cup oats + 1/4 cup sugar?)
3/4 tsp baking soda
1/2 tsp salt
1 tsp psyllium husk powder

“Wet" 
1/4 cup plus 3 tbsp sunflower oil, 95g
1 tbsp water, 15g (try only oil no water?) 
1/4 cocoa powder, 25g (check g) 
1/2 cup sugar, 105g
1/4 cup brown sugar, 40g
1 eggs, 52g
2 tsp vanilla

Additions 
1/2 cup chocolate chips, 70g  
1/2 cup hazelnuts, chopped 

Note: 
For best results rest the dough in the refrigerator overnight. However, If you would like to bake the cookies right away you can. It is most important to rest the dough if your brown rice flour is not super finely ground. It helps ensure a moist cookie.  

Directions:

  1. If you do not plan to rest the dough overnight, preheat the oven to 350F / 175C. 

  2. Add the flour, baking soda, salt and psyllium powder to a bowl and whisk thoroughly to combine.

  3. In a large bowl, whisk together the oil, water, and sugars. The whisk in the cocoa powder, followed by the egg and vanilla. 

  4. Add the dry mixture to the wet. Once the flour is almost mixed in, add the walnuts and chocolate chips and stir only until incorporated. Place in the refrigerator overnight. This step can be skipped if you would like to bake them right away.  

  5. Remove from fridge 2 hours before baking to allow the dough to come to room temperature. Preheat the oven to 350F / 175C. Bake for 8-10 minutes, just until the edges are set and the middle has lost its sheen. Cool the cookies on tray for at least 10 minutes (ideally 20) before transferring so that the cookies fully set. Once cooled, store in airtight container. Enjoy! 🙂

Peanut Butter Chocolate Chip Bars

What are they like?

-Chewy & Tender

-Packed with Peanut Butter & Chocolate

Note: The bars in the photo above have nuts in them. The recipe does not call for whole nuts, but if you would like to add more flavor, you can certainly add them.

Note: The bars in the photo above have nuts in them. The recipe does not call for whole nuts, but if you would like to add more flavor, you can certainly add them.


Recipe

This is an adaptation of my chocolate chip cookie recipe and it is absolutely delectable. In fact if you follow the chocolate chip recipe you can just swirl in 1/2 cup peanut butter. Do not blend in the peanut butter, you want streaks of it running through the dough. If you would like some cookie baking tips (which apply to many bar recipes), you are welcome to listen to the accompanying podcast or check out the show notes. 

Dry
1 cup gluten free flour, 136g
3/4 tsp baking soda 
1/2 tsp salt 
1 tsp psyllium husk powder
1/2 cup chocolate chips, 67g

Wet
1/4 cup plus 3 tbsp coconut oil, 90g OR sunflower oil, 84g
1/2 cup sugar, 105g
1/4 cup brown sugar, 40g, do not pack 
1 egg, 52g
2 tsp vanilla 

Additions
1/2 cup unsalted peanut butter, 106g

Directions:

  1. Place the flour, baking soda, salt, psyllium powder, and chocolate chips in a bowl and whisk to combine. 

  2. Warm the coconut oil over low heat or microwave until quite warm to the touch. Then add the sugar and whisk well to incorporate. The mixture should now be warm but not hot (or it can cook the egg). Whisk in the egg, followed by the vanilla. 

  3. Add the dry mixture to the wet and stir with a spoon only until incorporated. Place in the fridge overnight. This step can be skipped if you’d like to bake them right away.  

  4. Remove from fridge a couple hours before baking to allow dough to come to room temperature. Preheat oven to 350F / 175C about 15 minutes before baking time begins. 

  5. Put the dough in an 8x8 inch (20x20 cm) greased baking dish (grease with 1/2 tsp oil or butter). Swirl in 1/2 cup peanut butter. Do not completely stir it in—you want to have streaks of peanut butter running through the dough. Then flatten the dough evenly. 

  6. Bake for about 20 minutes or just until the edges are firm and a fork inserted into the middle comes out clean. 

  7. Allow to cool before eating. Store in airtight container. Enjoy! 🙂

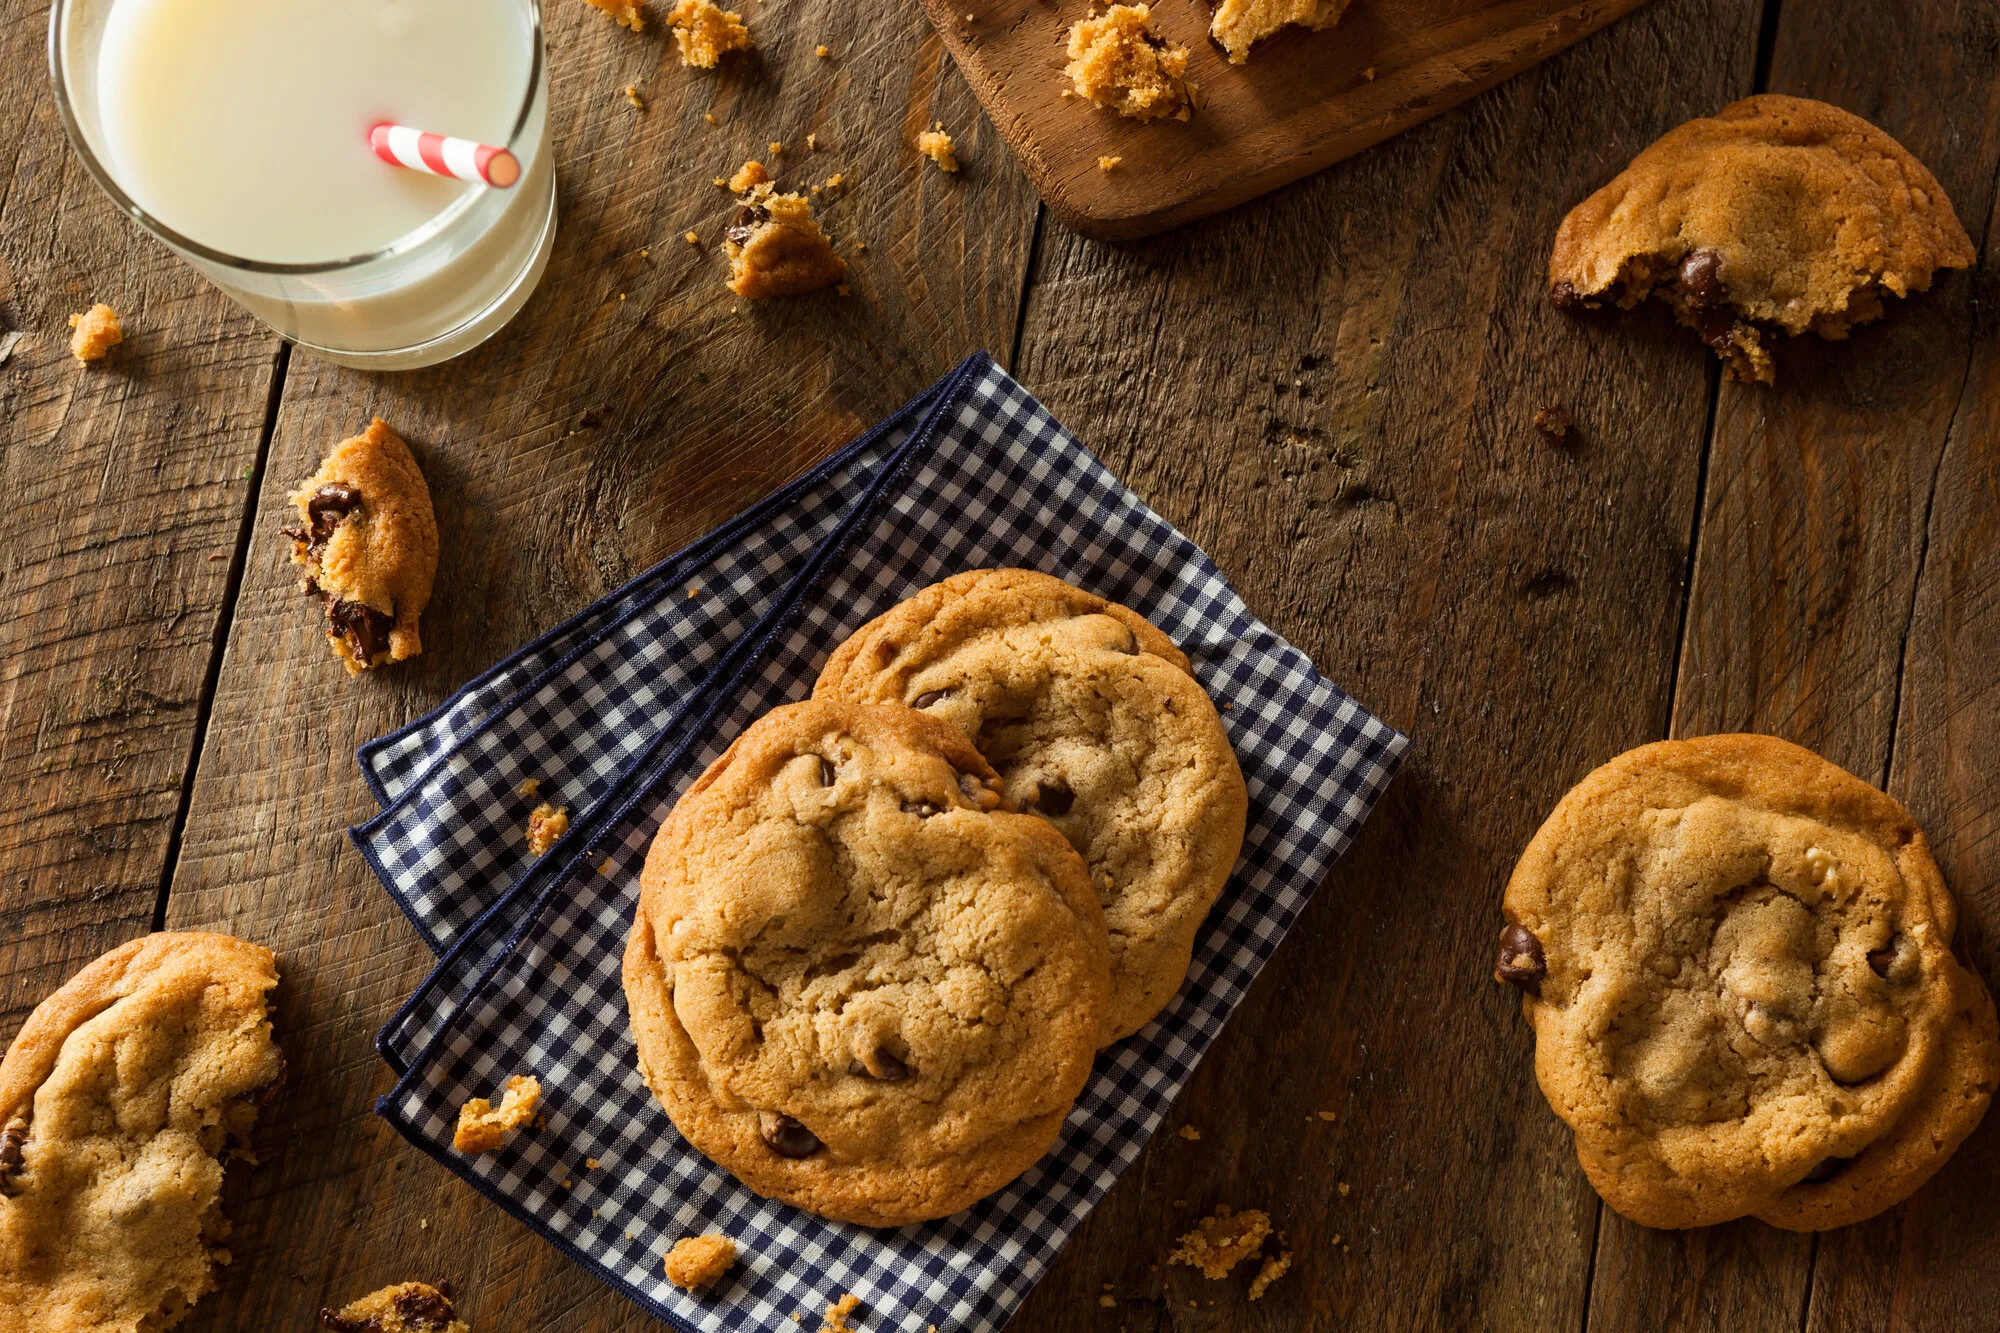
Chocolate Chip Cookies

What are they like?

-Crisp on the outside & Chewy on the inside

-Packed with Chocolate Chips

the best dairy free gluten free chocolate chip cookies
 

Recipe

This is an adaptation of the chocolate chip cookie recipe from Gluten-Free Baking Classic. This version is dairy free, gum free, and it makes classic chocolate chip cookies, crisp on the outside and chewy on the inside. If you would like some tips for this recipe (or how to make the perfect cookie), you are welcome to listen to the accompanying podcast or check out the show notes. 

Dry
1 cup gluten free flour, 130g
3/4 tsp baking soda, 5g 
1/2 tsp salt, 3g
1 tsp psyllium husk powder, 4g

Wet
1/2 cup coconut blend (see note) - or you can use butter
1/2 cup sugar, 105g
1/4 cup brown sugar, 40g, do not pack
1 egg, 54g 
2 tsp vanilla 

Additions
3/4 cup chocolate chips , 150g
1/2 cup walnut pieces (optional)

Directions:

  1. Place all of the flour, baking soda, salt and psyllium powder in a bowl and whisk thoroughly to combine. 

  2. Warm the coconut oil over low heat until quite warm to the touch or use the microwave. Then add the sugar and whisk well to incorporate. The mixture should now be warm but not hot (or it can cook the egg). Whisk in the egg, followed by the vanilla. 

  3. Add the dry mixture to the wet. Once the flour is almost mixed in, add the walnuts and chocolate chips and stir only until incorporated. Place in the refrigerator overnight. This step can be skipped if you’d like to bake them right away.  

  4. Remove from fridge 2 hours before baking to allow the dough to come to room temperature. Preheat the oven to 350F / 175C. Bake for 8 minutes or just until the edges are golden and the middle has lost its sheen. Cool on tray for at least 10 minutes before transferring. Once cooled, store in airtight container.

    Enjoy! 🙂

Notes:
Coconut blend: the best butter substitute that I have come up with for cookies is a ratio of 7 tablespoons coconut oil mixed with 1 tablespoon coconut milk. Now, if you do not have coconut milk on hand, just use two teaspoons of water instead. Furthermore, if you do not have coconut oil on hand, you can substitute 84g (about 1/3 cup) of sunflower oil mixed with 2 teaspoons of water. Just note that a runny vegetable oil will not yield the same result. The cookies will still be delicious but they will not be as chewy and they will not stick together as well, so make sure you let them rest after they are baked. 

Bake time: It is important to be very particular about bake time for cookies. They can go from perfectly baked to over-baked in about 1-2 minute. Although freshly baked cookies are certainly still delicious even when over-baked, if they are taken out of the oven on time (and stored properly) they will stay tender and chewy for couple of days. However, if you prefer them to be crunchy all the way through, give them an extra minute or two. If you prefer them to be chewy take them out just when the middle has lost its sheen. 

Classic Butter Cookies

What are they like?

-A classic buttery flavor

-Delicately crisp (or soft, depending how you like them)

-Experiment with flavor: add nuts, matcha powder, or rose water

NOTE: The pattern on top can be made with a fork but the cookie does not need to be flattened to be baked properly. The design above is optional.

NOTE: The pattern on top can be made with a fork but the cookie does not need to be flattened to be baked properly. The design above is optional.


Recipe

These cookies are deliciously buttery. They can be rolled out and decorated or just dolloped onto a cookie sheet for a classic look. If you would like tips on how to make these (or how to make cookies in general), you can check out the podcast here.

1/2 cup vegan butter,115g, softened or melted (see note)
1/2 cup sugar, 100g
1 egg, room temperature
1 tsp vanilla
1 1/4 cups flour mix, 150g
1/8 tsp salt
1/2 tsp psyllium husk powder


Icing (optional)
1 1/2 cups powdered sugar
1-2 tbsp water


Directions:

  1. In a small bowl whisk together the dry ingredients: the flour, salt, and psyllium husk powder. 

  2. In a medium sized bowl, mix together the softened (or melted) butter and sugar thoroughly. Then whisk in the egg and vanilla. Then fold in the flour until incorporated. Rest the dough overnight. 

  3. Preheat oven to 350F / 175C. (See note for decorative cookies and rolling out cookie dough.) Scoop one tablespoon sized balls onto a cookie sheet two inches apart. If the dough is too cold to work with, allow it to warm up some (see note). 

  4. Bake for 8-10 minutes for a soft cookie, just until the edges start to turn color. For a crisp cookie, bake for a few extra minutes, until they are nicely tanned on the bottom. 

  5. Let the cookies cool & enjoy. 

These cookies can be decorated if you like—dipped in chocolate or frosted. Store them in an airtight container for up to four days. 

For the Icing: 
In a bowl, stir together the ingredients for the icing. Add just enough liquid to make a thick frosting. If the frosting is too thin, it will run off the cookie. If it is too thick it won’t spread. Add just enough water (or powdered sugar) to get a workable consistency. 

Notes:
Butter: I tested this recipe using Miyoko’s vegan butter which I purchased from Trader Joe's. I prefer this dairy free butter because it does not contain palm oil, the cultivation of which wreaks havoc on the environment and many people also believe palm oil to have poor effects on health. If you would like to use butter, the recipe will likely work nicely, but I have yet not tested it. If you try it, please let me know how it works in the comments section below 🙂 

Resting the dough: You want to the dough to rest to hydrate the flours and to prevent the cookie from spreading too much on the oven. This is a typical step for this kind of cookie. When you portion the dough, it should still be cold but you may want to let it warm up sightly to make it easier to work with, about 1-2 hours depending on the ambient temperature. 

Rolling out the dough: dust a clean surface with flour and roll out the dough. Don’t forget to dust the rolling pin and a light dusting over the top of the dough as well. Roll the dough out when it is still cold. You can cut out desired shapes and sizes, just keep in mind that small cookies will bake more quickly than large ones. If you would like to frost the cookies wait until they cool completely and then make a thick icing to pipe on top (you can dye it desired colors).