Classic Butter Cookies

What are they like?

-A classic buttery flavor

-Delicately crisp (or soft, depending how you like them)

-Experiment with flavor: add nuts, matcha powder, or rose water

NOTE: The pattern on top can be made with a fork but the cookie does not need to be flattened to be baked properly. The design above is optional.

NOTE: The pattern on top can be made with a fork but the cookie does not need to be flattened to be baked properly. The design above is optional.


Recipe

These cookies are deliciously buttery. They can be rolled out and decorated or just dolloped onto a cookie sheet for a classic look. If you would like tips on how to make these (or how to make cookies in general), you can check out the podcast here.

1/2 cup vegan butter,115g, softened or melted (see note)
1/2 cup sugar, 100g
1 egg, room temperature
1 tsp vanilla
1 1/4 cups flour mix, 150g
1/8 tsp salt
1/2 tsp psyllium husk powder


Icing (optional)
1 1/2 cups powdered sugar
1-2 tbsp water


Directions:

  1. In a small bowl whisk together the dry ingredients: the flour, salt, and psyllium husk powder. 

  2. In a medium sized bowl, mix together the softened (or melted) butter and sugar thoroughly. Then whisk in the egg and vanilla. Then fold in the flour until incorporated. Rest the dough overnight. 

  3. Preheat oven to 350F / 175C. (See note for decorative cookies and rolling out cookie dough.) Scoop one tablespoon sized balls onto a cookie sheet two inches apart. If the dough is too cold to work with, allow it to warm up some (see note). 

  4. Bake for 8-10 minutes for a soft cookie, just until the edges start to turn color. For a crisp cookie, bake for a few extra minutes, until they are nicely tanned on the bottom. 

  5. Let the cookies cool & enjoy. 

These cookies can be decorated if you like—dipped in chocolate or frosted. Store them in an airtight container for up to four days. 

For the Icing: 
In a bowl, stir together the ingredients for the icing. Add just enough liquid to make a thick frosting. If the frosting is too thin, it will run off the cookie. If it is too thick it won’t spread. Add just enough water (or powdered sugar) to get a workable consistency. 

Notes:
Butter: I tested this recipe using Miyoko’s vegan butter which I purchased from Trader Joe's. I prefer this dairy free butter because it does not contain palm oil, the cultivation of which wreaks havoc on the environment and many people also believe palm oil to have poor effects on health. If you would like to use butter, the recipe will likely work nicely, but I have yet not tested it. If you try it, please let me know how it works in the comments section below 🙂 

Resting the dough: You want to the dough to rest to hydrate the flours and to prevent the cookie from spreading too much on the oven. This is a typical step for this kind of cookie. When you portion the dough, it should still be cold but you may want to let it warm up sightly to make it easier to work with, about 1-2 hours depending on the ambient temperature. 

Rolling out the dough: dust a clean surface with flour and roll out the dough. Don’t forget to dust the rolling pin and a light dusting over the top of the dough as well. Roll the dough out when it is still cold. You can cut out desired shapes and sizes, just keep in mind that small cookies will bake more quickly than large ones. If you would like to frost the cookies wait until they cool completely and then make a thick icing to pipe on top (you can dye it desired colors). 

Whole Grain Fig & Almond Hot Cross Buns (1-Bowl)

What are they like?

- Moist & Light Rolls

- Filled with your choice of filling: Fig & Almond OR Cherry and Ginger

Photographed above are an example of fairly traditional hot cross buns. The recipe below is Whole grain (brown rice and buckwheat) so they are darker in color. The whole grain dough is also thinner than a traditional bun so they are baked in a muffi…

Photographed above are an example of fairly traditional hot cross buns. The recipe below is Whole grain (brown rice and buckwheat) so they are darker in color. The whole grain dough is also thinner than a traditional bun so they are baked in a muffin tin to hold a nice shape.

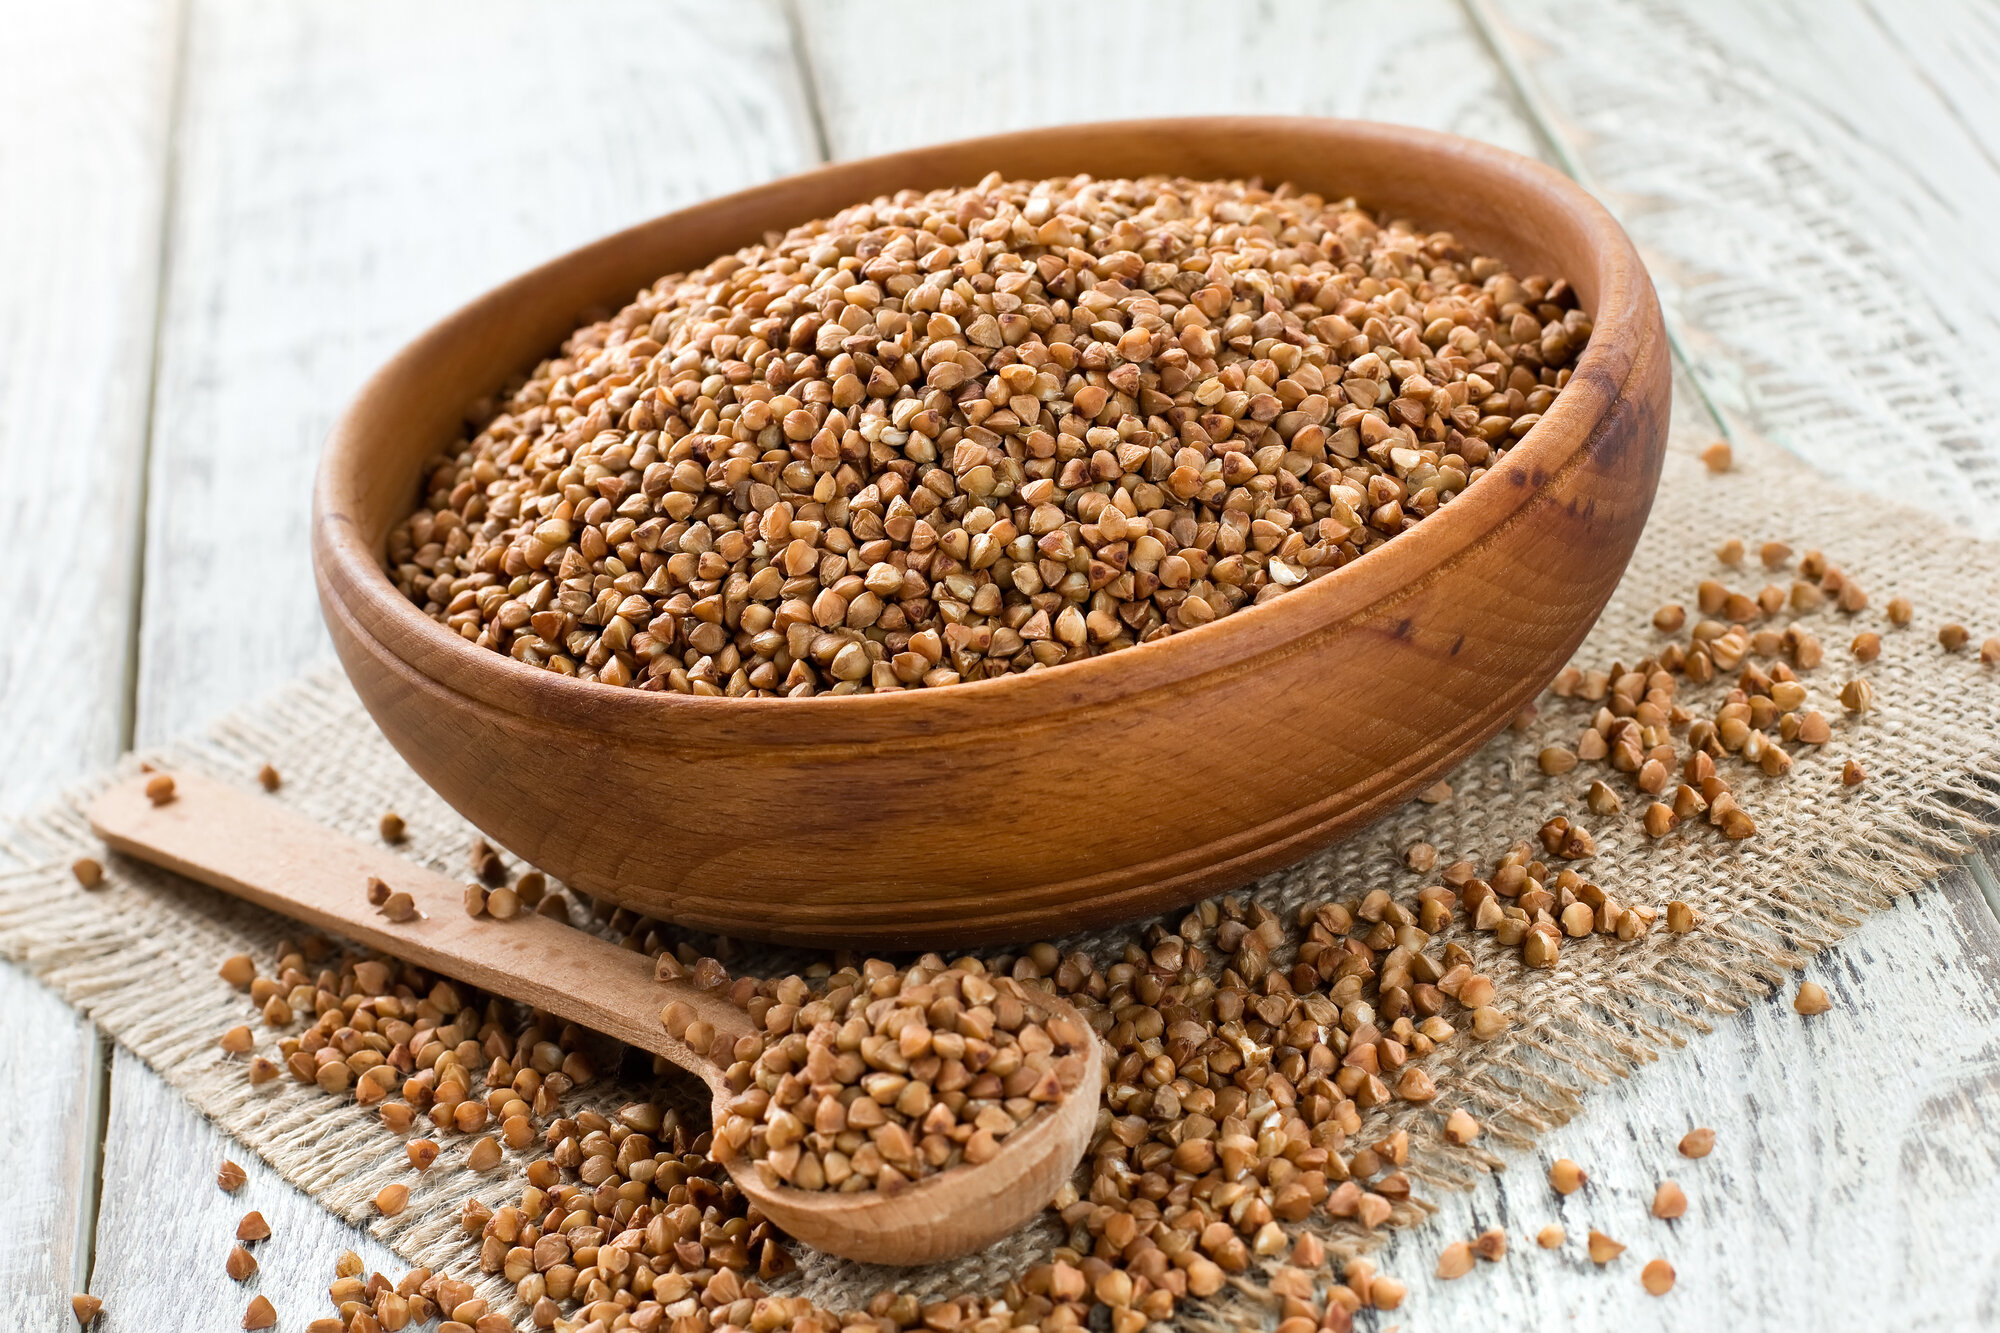
Buckwheat groats pictured above which, despite the name, are naturally gluten free

Buckwheat groats pictured above which, despite the name, are naturally gluten free


Recipe

Makes 10 buns (in a regular sized muffin pan)

Dry
3/4 cup flour mix 100g
2/3 cup buckwheat, 103g
1/3 cup tapioca flour/starch, 40g
1 tsp pumpkin pie spice or British mixed spice
1/2 tsp salt 4g
1 1/2 tsp psyllium husk powder, 6g
1 1/8 tsp instant yeast, 4g

Wet
2 tbsp olive oil, 26g
1 large egg
2 tbsp maple syrup, 30g
1 cup warm water, 236ml/g

Additions (optional)
Flavor 1: 1/3 cup cranberries + 3 tbsp crystallized ginger, diced finely
Flavor 2: 1/3 cup diced figs + 1/4 cup slivered almonds + zest of 1 orange

Icing
1 cup powdered sugar
about 1 tbsp water


Directions:

  1. Whisk the dry ingredients together in a large bowl or in the bowl of a standing mixer with the paddle attachment. Add the wet ingredients and mix on low until amalgamated. Mix on medium speed for about one minute. The dough will be very wet.

  2. Next, mix in the dried fruit (optional). Scoop the dough into a muffin tin or whoopee pie tin. Fill each mold a little over half full so that there is plenty of space for the rolls to rise—and they rise a lot!

  3. Allow to rise until at least doubled in volume. Preheat your oven to 350F / 175C. If using a muffin tin, bake for 25 minutes, or until the tops just begin to brown. If you’re using a whoopee pie tin, the rolls will bake for less time, about 20 minutes because they are smaller.

  4. Allow to cool completely. Then mix together the powdered sugar and just enough water to make a thick drizzle (it should coat the spoon generously). Place the mixture in a piping bag or you can make your own (see note). With the icing, make a cross pattern going all the way across the buns. Allow the icing to set and then serve warm or place in an airtight container. I give them a short zap in the microwave before serving. Enjoy!


Notes:

  • If you prefer to try a savory version of this recipe, you can leave out the dried fruit and frosting and just add a few tablespoons of sunflower seeds and flaxseeds to the dough. Also put a few seeds on top of each roll before baking, and gently press them onto the dough.

  • You can make your own piping bag from a sandwich bag or parchment paper. Alternatively, you can just dollop some icing on top of the buns with a spoon.

No Fail Pie or Tart Crust (vegan option)

What is it like?

- Crisp & Buttery

- Only 2 flours

- Great for savory dishes too - just omit the sugar!

No Fail Pie shell or Tart Crust vegan gluten free dairy free recipe

Recipe

With one optional chill time, this crust is quicker and simpler to make than a standard shell. And it is so tender and delicious that you would never know there were any shortcuts. It is one of my favorites.

One 9 or 10-inch pie or tart (23-25 cm), prep 20 min

Ingredients

1 1/4 cup oat flour, 115g
3/4 cup almond flour, 75g
2 tablespoons powdered/icing sugar
¼ teaspoon salt
¼ cup melted butter (see note for dairy free)
1 egg or 4-6 tbsp ice water


Directions:

  1. Note, for a savory pie, cut the sugar in half. In a food processor mix together the flours, sugar and salt.

  2. Add the melted butter and blend until it looks like fine bread crumbs. Add the egg (or ice water) and mix just until a dough is formed. If the dough is on the dry side that is fine.

  3. Press it into a tart pan and chill for a minimum of 20 minutes (this chill time is optional but achieves best results). Preheat the oven to 350F / 175 C. Note that this crust, unlike others, can be baked in a non-metal pan. Because of the lower fat content, it does not have to heat up quickly to achieve a tender crust. Follow your pie or tart recipe as directed. Also, dock the crust before par-baking.

Notes:
You can substitute Miyoko’s vegan spread or coconut oil for a dairy free version which is delicious. 


Eclairs with a Chocolate "Ganache" Topping

What are they like?

- Packed with pastry cream

- Chocolaty

- Not too sweet! (European style)

Eclairs choux pastry pastry cream gluten free dairy free recipe
 

Recipe

Eclairs are a wonderful treat and surprise everyone when they are homemade. They are made from pate a choux and pastry cream, each of which are used for so many other desserts, so it’s a great one to have under your belt. Now you may be wondering about the long directions, but rest assured, I included more detail than necessary so that you end up with an exquisite dessert. And, if you’d like learn more about Eclairs, here is a podcast episode all about them.

Makes 8 large eclairs, active prep 30 minutes divided, passive 1 hour chill/bake


Pastry Cream (also known as Creme Patissiere)
1 cup milk, 218g (see note for dairy free substitutions)
1/4 cup sugar, 54g divided
2 large egg yolks, 33g
2 tbsp cornstarch, 14g
1 1/2 tbsp salted butter, 19g
1 tsp vanilla (or preferred flavor)

Choux Pastry
1/2 cup water, 112g
1/4 stick unsalted butter, 57g
1/2 cup flour blend, 64g
1 1/2 tsp sugar, 8g
1/8 teaspoon salt
1/8 tsp psyllium husk powder or xanthan gum
2 large eggs, 104g

Chocolate Glaze
4 oz dark chocolate, chopped (or preferred chocolate)
5 tbsp unsalted butter (or dairy free substitute)


Directions:

  1. Begin with the pastry cream so that it has time to cool in the fridge. In a small sauce pan, heat the milk and half of the sugar stirring occasionally so it doesn’t burn. Heat the milk until it is scalding and bubbles form around the edges. If it boils, that is okay, just continue with the recipe.

  2. While the milk heats, whisk together the eggs, remaining sugar, and cornstarch. Once the milk is ready, drizzle it into the egg mixture in a thin stream while whisking the eggs mixture continuously. (You can place the egg bowl on a towel to keep it from sliding.)

  3. Return the mixture to the sauce pan and bring to a boil over medium low heat, mixing continuously to prevent the eggs from getting lumpy.

  4. Once the mixture thickens, continue to cook until the mixture boils and then cook for another 30-60 seconds while whisking. To tell if the it is boiling stop mixing for a second to see if the mixture "burps".

  5. Pour the custard into a bowl and stir in the butter and vanilla. Put plastic wrap or parchment paper directly on the surface to prevent a skin from forming. Place in the fridge to cool. (*See note for quick cooling)

  6. For the choux pastry: preheat the oven to 400 F / 200 C. In a saucepan heat the water and butter over medium heat until it boils, stirring occasionally.

  7. While the butter and water heat, mix together the flour, sugar, salt, and psyllium in a bowl.

  8. Once the butter and water boil, dump in the flour mixture and stir with a spoon. It will start to form a ball of dough, but keep stirring for a few minutes over medium heat until the mixture looks a little oily and forms a film on the bottom of the pan. If you have an instant read thermometer, I recommend sticking it into the middle of the dough and taking the mixture off the burner once it reaches 140-150 F / 60-65 C.

  9. Place the dough in a mixer and mix on low speed until it is warm to the touch. Add the eggs one at a time, making sure to thoroughly mix in the egg before adding the second egg.

  10. Place the mixture in a piping bag fitted with a 1/2 inch (1 cm) piping tip. Or a thick sandwich bag with the corner cut off works just fine too. On a lined or greased baking tray, pipe about 8 eclairs about 3/4 inches wide (2 cm) and 3 1/3 inches (9 cm) long. The end of the eclairs will have a “tail” where you pull the piping bag away. After you pipe, simply wet your fingers and press the bumps down so the eclairs are uniform.

  11. Bake for 15 minutes and do not open the oven door. Opening the door can cause them to collapse. After 15 minutes, keep the oven door closed but turn the oven down to 300 F / 150 C and bake for 15-20 minutes. Take the eclairs out and carefully slice them in half. Return them to the oven for about 5-10 minutes and bake just until the inside feels dry/cooked and not gummy. Allow them to cool completely. They will be crispy at this stage, but they will soften once they are filled with the moist pastry cream.

  12. Prepare the chocolate glaze by putting the chocolate and butter in a heat proof bowl. Microwave for 30 seconds. Allow to sit for a minute and then stir. Repeat the process once more if necessary until you have a smooth consistency, being careful not to overheat the chocolate.

  13. Once the choux is cooled you can either spoon or pipe the cold pastry filling into the larger half of each choux bun. Dip the other half of the choux, in the chocolate and place on top. It’s a matter of personal taste, but I think eclairs are best once the choux softens which can take a couple of hours to one day, which makes for excellent leftovers. Store them in the fridge and enjoy!

Notes:

  • Substitutions: This recipe is delicious dairy free. I have tested unsweetened soy milk and it works quite well. For the butter you can also use a dairy free option. If you need to replace the cornstarch, you can try using sweet rice flour. Some people use tapioca starch but I have found it to add a slight slimy texture which I’m not crazy about. Alternatively, you can try a recipe that calls for whole eggs. The egg whites act as the thickener.

  • Quick cooling: If you need your pastry cream to cool quickly, you can place it in a thin layer in a metal pie pan. The thinner the layer, the quicker it will cool. Just be sure to cover the surface. You can even give it a 10-20 minutes cooling boost in the freezer before putting it in the fridge. Just keep an eye on it to be sure it doesn’t freeze.

Foolproof Tart Shell (Crispy & Buttery, with a vegan option)

What is it like?

- Delicately crisp

- Buttery

- Great for savory dishes too - just omit the sugar!

Foolproof Tart Shell vegan gluten free dairy free recipe
 

Recipe

One 9 or 10-inch tart, prep 1 hours

Ingredients

3/4 cup flour mix, 100g
1/4 cup almond flour, 18g
2 tbsp powdered/icing sugar (13g)
1/4 tsp salt
1 stick butter, cold, 113g or vegan substitute (I used Miyoko’s)
4-6 tbsp ice water or 1 egg (see note)


Directions:

  1. For the tart shell. Chop the butter into eight pieces. Add the flour to the food processor along with all of the other ingredients, except the ice water or egg, whichever you are using. Process until the flour and butter mixture resembles fine bread crumbs. If you are using water, skip to the next step. Add the egg and process until a dough starts to form.

  2. (If you used an egg, skip this step.) Next add 4 tablespoons of ice water. Process once or twice. If a dough is still dry and not sticking together, add another tablespoon of water and process just until a dough forms.

  3. Work the dough very briefly on a floured surface, giving it just a couple of turns to ensure the ingredients are mixed together. The dough should look amalgamated and uniform in color. Shape it into a disk and place in the fridge to cool for at least twenty minutes.

  4. While the dough is cooling, preheat the oven to 400 F / 200 C.

  5. On a floured surface, roll the dough out to about 1/8 inch (3 -7 millimeters) thick. The thinner the better. Flour the top of the surface the rub a little flour on the rolling pin as well. Then use a spatula to slide the crust into a metal tart pan (see note). Lift the edges of the tart crust and set them into the “corners” of the tart pan, where the side meets the bottom. Do not squish it in with your fingers or the dough will tear and the butter will melt. Next, press the dough into the edge using your fingers and then use a knife to slice off the over hanging dough. I bake the extra dough in another pie pan as it makes a tasty snack!

  6. Blind bake the tart shell, by placing parchment paper over the shell, followed by about two cups of loose dry beans (or you can use pie weights). Bake for about 15 minutes, or until the crust is just starting to turn golden on the edges.

    Notes:

    When you bake a tart, make sure you use a metal tart pan. I like to use this carbon steel one because it is affordable, nonstick, and non-toxic. When I started baking tarts I used a ceramic tart pan until I realized it was heating up too slowly in the oven, causing all of the butter to run out of my pastry. All of the hard work for nothing. A ceramic tart pan is really best for tarts that have minimal butter/fat content in the crust.