No Fail Pie or Tart Crust (vegan option)

What is it like?

- Crisp & Buttery

- Only 2 flours

- Great for savory dishes too - just omit the sugar!

No Fail Pie shell or Tart Crust vegan gluten free dairy free recipe

Recipe

With one optional chill time, this crust is quicker and simpler to make than a standard shell. And it is so tender and delicious that you would never know there were any shortcuts. It is one of my favorites.

One 9 or 10-inch pie or tart (23-25 cm), prep 20 min

Ingredients

1 1/4 cup oat flour, 115g
3/4 cup almond flour, 75g
2 tablespoons powdered/icing sugar
¼ teaspoon salt
¼ cup melted butter (see note for dairy free)
1 egg or 4-6 tbsp ice water


Directions:

  1. Note, for a savory pie, cut the sugar in half. In a food processor mix together the flours, sugar and salt.

  2. Add the melted butter and blend until it looks like fine bread crumbs. Add the egg (or ice water) and mix just until a dough is formed. If the dough is on the dry side that is fine.

  3. Press it into a tart pan and chill for a minimum of 20 minutes (this chill time is optional but achieves best results). Preheat the oven to 350F / 175 C. Note that this crust, unlike others, can be baked in a non-metal pan. Because of the lower fat content, it does not have to heat up quickly to achieve a tender crust. Follow your pie or tart recipe as directed. Also, dock the crust before par-baking.

Notes:
You can substitute Miyoko’s vegan spread or coconut oil for a dairy free version which is delicious. 


Foolproof Tart Shell (Crispy & Buttery, with a vegan option)

What is it like?

- Delicately crisp

- Buttery

- Great for savory dishes too - just omit the sugar!

Foolproof Tart Shell vegan gluten free dairy free recipe
 

Recipe

One 9 or 10-inch tart, prep 1 hours

Ingredients

3/4 cup flour mix, 100g
1/4 cup almond flour, 18g
2 tbsp powdered/icing sugar (13g)
1/4 tsp salt
1 stick butter, cold, 113g or vegan substitute (I used Miyoko’s)
4-6 tbsp ice water or 1 egg (see note)


Directions:

  1. For the tart shell. Chop the butter into eight pieces. Add the flour to the food processor along with all of the other ingredients, except the ice water or egg, whichever you are using. Process until the flour and butter mixture resembles fine bread crumbs. If you are using water, skip to the next step. Add the egg and process until a dough starts to form.

  2. (If you used an egg, skip this step.) Next add 4 tablespoons of ice water. Process once or twice. If a dough is still dry and not sticking together, add another tablespoon of water and process just until a dough forms.

  3. Work the dough very briefly on a floured surface, giving it just a couple of turns to ensure the ingredients are mixed together. The dough should look amalgamated and uniform in color. Shape it into a disk and place in the fridge to cool for at least twenty minutes.

  4. While the dough is cooling, preheat the oven to 400 F / 200 C.

  5. On a floured surface, roll the dough out to about 1/8 inch (3 -7 millimeters) thick. The thinner the better. Flour the top of the surface the rub a little flour on the rolling pin as well. Then use a spatula to slide the crust into a metal tart pan (see note). Lift the edges of the tart crust and set them into the “corners” of the tart pan, where the side meets the bottom. Do not squish it in with your fingers or the dough will tear and the butter will melt. Next, press the dough into the edge using your fingers and then use a knife to slice off the over hanging dough. I bake the extra dough in another pie pan as it makes a tasty snack!

  6. Blind bake the tart shell, by placing parchment paper over the shell, followed by about two cups of loose dry beans (or you can use pie weights). Bake for about 15 minutes, or until the crust is just starting to turn golden on the edges.

    Notes:

    When you bake a tart, make sure you use a metal tart pan. I like to use this carbon steel one because it is affordable, nonstick, and non-toxic. When I started baking tarts I used a ceramic tart pan until I realized it was heating up too slowly in the oven, causing all of the butter to run out of my pastry. All of the hard work for nothing. A ceramic tart pan is really best for tarts that have minimal butter/fat content in the crust.

Elizabeth Gregory Donut Holes

Note:
Originally I made this recipe as regular doughnuts, but they are actually better as doughnut holes. They are a rich batter so a smaller serving is perfect. I hope you enjoy them!

What is it like?

- A tender, caky doughnut hole

- A time warp to 1850’s New England

Doughnut Hole gluten free dairy free recipe
 

Recipe

About 32 Servings, Prep 30 min

The title of this recipe is a reference to doughnut history. I talk about it in this episode. In a nutshell, no one knows where the doughnut hole came from, but Elizabeth Gregory did make an excellent doughnut, infused with spices for her son to take on voyages. However, if you want a classic/plain doughnut, simply omit the spices, nuts and zest and add 1 teaspoon vanilla.

Wet
3/4 cup Earth Balance Buttery Spread, at room temperature, 180g
1/2 cup sugar, 100g
2 egg
zest of 1 lemon (or 1 tsp vanilla if you prefer a classic flavor)

Dry
1 1/4 cup flour mix, 160g
1 1/4 cup almond four, 108g
2 tsp psyllium husk powder
1 tsp baking powder
1/2 tsp salt
optional spices: 1/4 tsp nutmeg + 1/4 tsp cinnamon

Topping
1/2 cup powdered sugar, or as needed


Directions:

  1. Preheat your oven to 325F/165C. Whisk together the dry ingredients and put them through a sifter if you have one. If you’re using the optional ingredients (nuts or spices), whisk them into the dry ingredients.

  2. Whisk the sugar into the butter until it’s incorporated and creamy. Then whisk in one egg at a time. Lastly whisk in the zest.

  3. Fold the dry ingredients into the wet ingredients in three batches, being careful not to over mix.

  4. Fill a greased mini muffin tin with the batter. Fill each tin a little more than half way, leaving room for rise. Alternatively, you can make small 1 1/2 tbsp mounds on cookie trays and you will end up with “cookie doughnuts”—that taste delicious. Bake until they bounce back to the touch or a toothpick comes out clean. While they cool, prepare the topping by whisking together the sugar and cinnamon in a medium sized bowl.

  5. Once the doughnut holes are cooled, but still warm, roll them in powdered sugar or use a small sifter filled with powdered sugar for a lighter coating.

  6. The doughnut holes will keep for 2-3 days in an airtight container but they are best fresh.


Notes:

Using room temperature butter is key. If your butter is melted these doughnut holes will end up being denser.

New England Ocean - Elizabeth Gregory was a New England ship captains mother

New England Ocean - Elizabeth Gregory was a New England ship captains mother

6-Ingredient No-Bake Honey Lemon Cheese Cake (vegan option)

What is it like?

- Lemon-y aroma

- Ultra-creamy

- Thick graham cracker crust (optional)

6-Ingredient No-Bake Honey Lemon Cheese Cake vegan gluten free dairy free recipe
 

Recipe

6 Servings, Prep 15 min, chilling time is 1 hour for individual servings

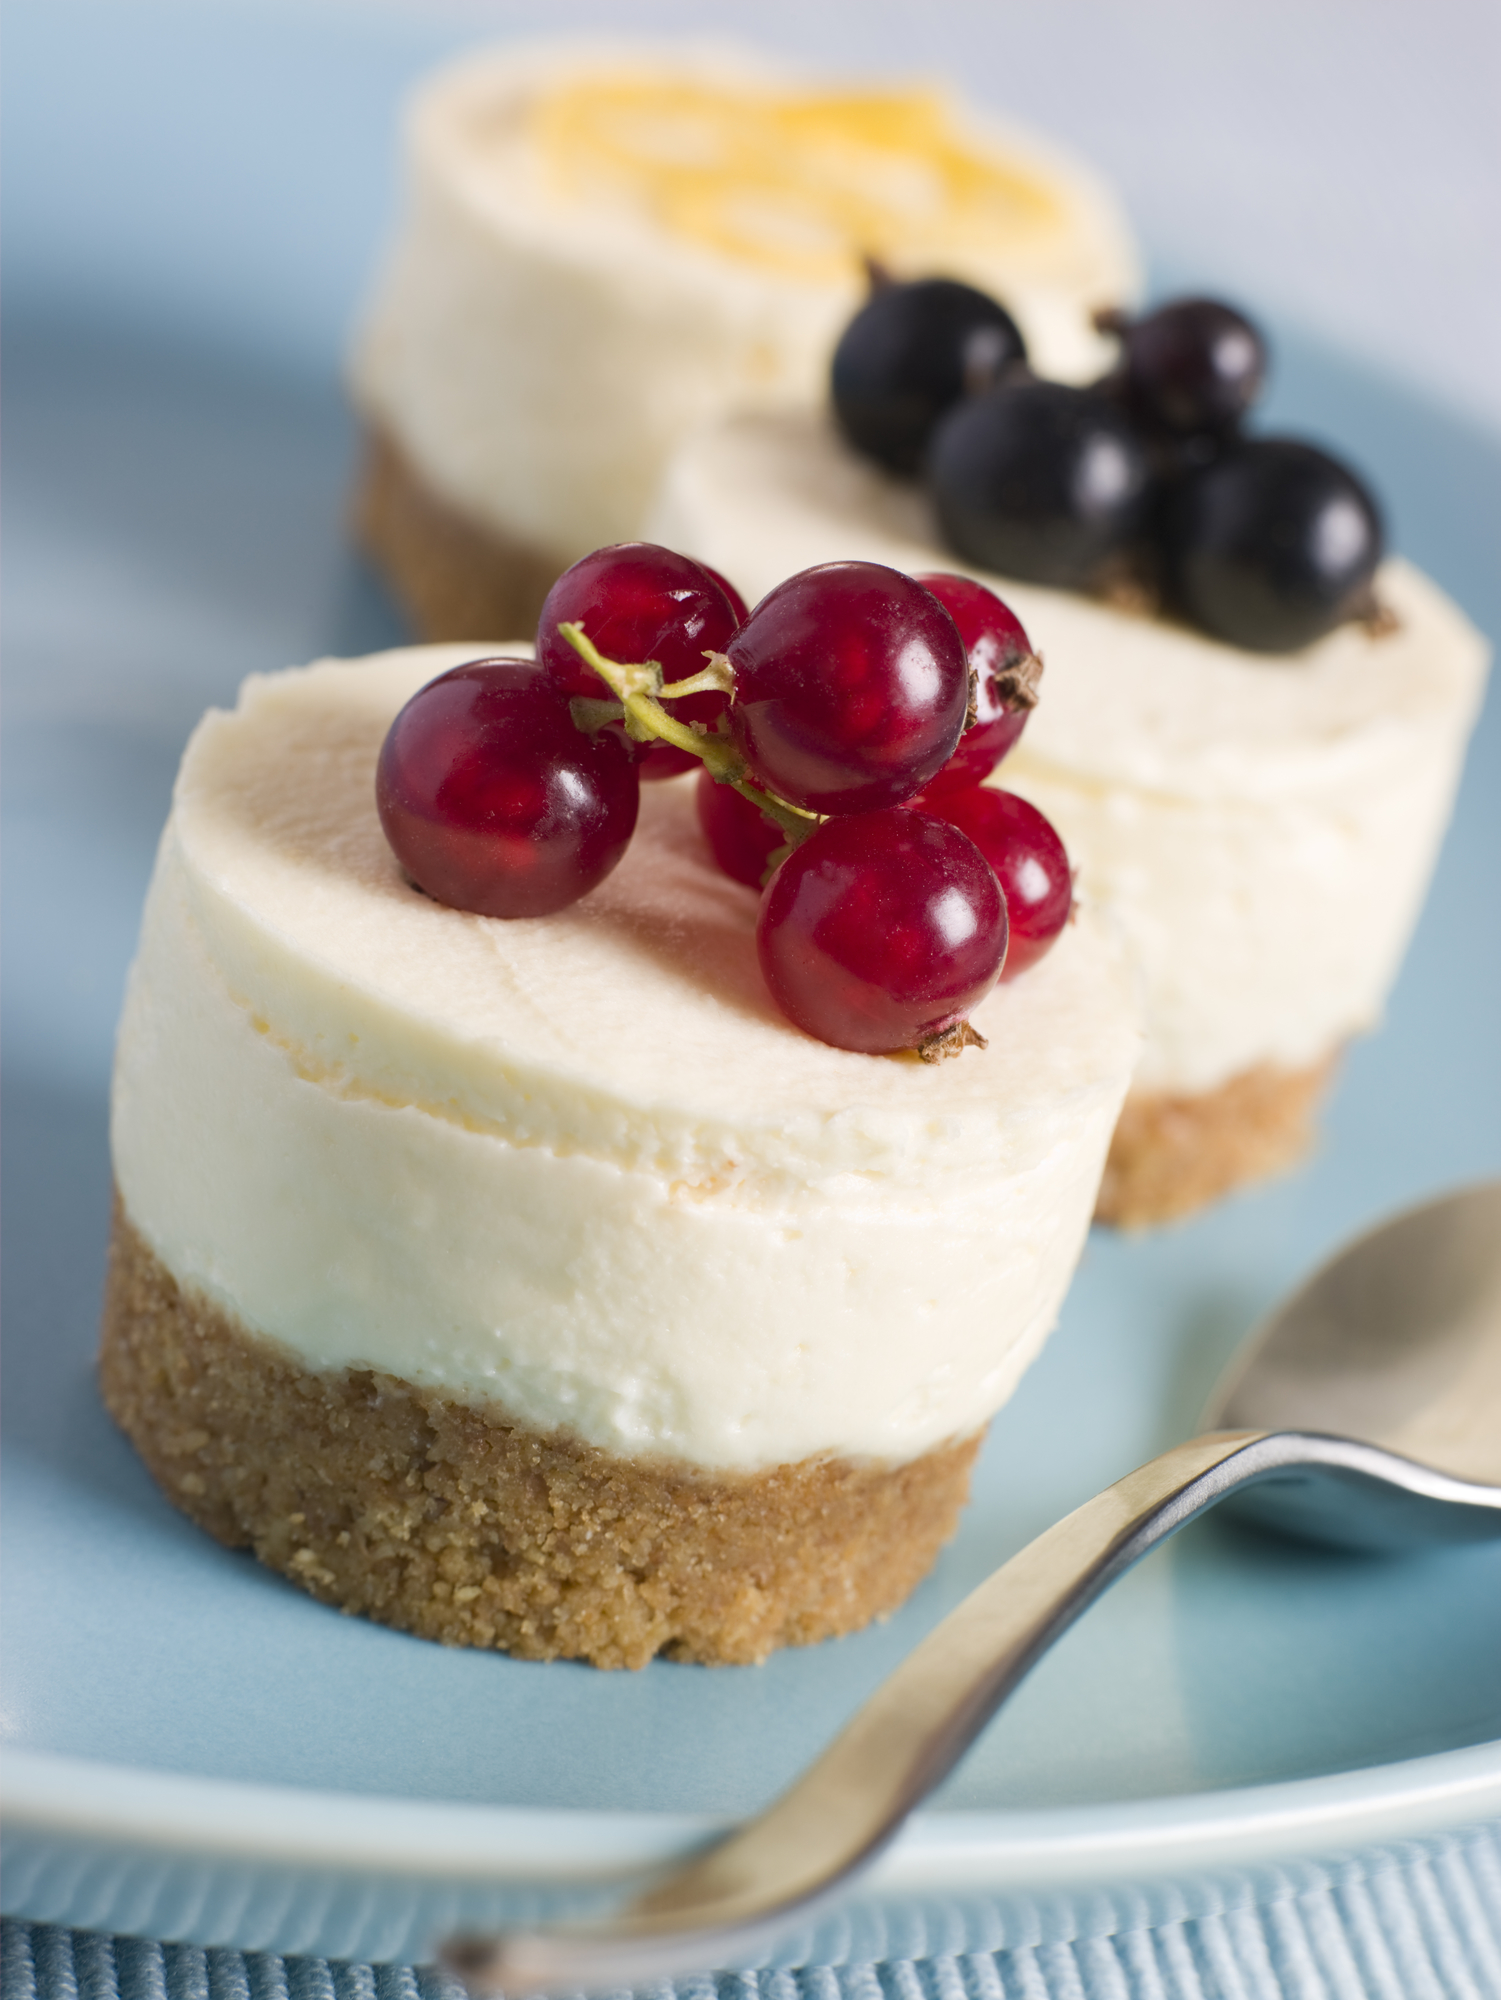
Because this cheesecake is not baked, it is ultra-creamy. And without a crust it takes about 5 minutes to whip together. If you would like an extra thick crust, like the one photographed above, double the crust recipe.

Crust, Optional (You can make a beautiful cheesecake without a crust)
2/3 cup Gluten free graham cracker crumbs (or Lavender Oat Cookie crumbs - you can leave out the lavender if you prefer)
2 tbsp butter
1 tbsp sugar, or more to taste (optional)

Filling
1 lb vegan cream cheese spread, 453g
1/3 cup vegan butter or butter, 92g
1/3 cup honey (or agave for vegan), warmed 120g
Zest of one large lemon (1 tbsp lemon juice, optional)

Optional: If you would like a more full lemon flavor (but slightly softer filling) add 1 tbsp lemon juice


Directions:

  1. Crust: If you are making a crust, place the graham cracker pieces in the food processor and pulse until crumbs begin to form. Measure 3/4 cup and reserve the rest for another use. Add the 3/4 cup crumbs, melted butter, and sugar to the food processor and pulse a few more times, until there are uniform crumbs. Divide and press the crust into the bottoms of six small ramekins (3 in / 7 cm in diameter). If you do not have ramekins, any small bowl or cups will do! Or if you prefer one dish, you can use a small bread pan.

  2. For the filling: Open the cream cheese. If there is any liquid on top, pour it off. Whip the cream cheese on low until it is homogenous and there are no lumps. Be careful not to over-mix. Add the warmed honey and stir. Next add the melted butter and stir in the zest. If you want to use the lemon juice as I do, it will make the cheesecake softer, but it will give it a fuller flavor. Personally, I don’t mind that it is softer, because as a no-bake cheesecake you get a softer, creamier texture than baked cheesecake anyway. However, if you’re going for a “harder” cheesecake, omit the juice and just use zest.

  3. Pour the filling into six individual ramekins or into a small bread pan. Place it in the fridge until it is cold. Overnight is best but two hours is generally enough time.

  4. Serve cold. The cheesecake is delicious with fresh, in season fruit.


Notes:

  • For the ingredients I used: Trader Joes Vegan Cream Cheese Spread and Miyoko’s Organic Cultured Vegan Butter, also available at Trader Joe’s.

  • What is most important for the crust is that you use crumbs from cookies that are crispy or crunchy. Ginger snaps should also produce a nice crust in place of graham crackers, although I have not tested them (yet!).

  • If you’d like to make a larger recipe, without the individual serving tins, double the recipe and use a springform cake pan. Allow for 4 hours of chill time in the fridge.

  • These cheesecakes are served in the ramekins for a simpler preparation. However, if you’d like them be able to pop out of the dishes you’ll have to use small individual cake rings.

7-Ingredient Coconut Lime Cheesecake

What is it like?

- Gentle Lime Flavor

- Cool & Refreshing

7-Ingredient Coconut Lime Cheesecake vegan gluten free dairy free recipe
 

Recipe

About 6 servings, prep 20 minutes, cool time: 2 hours

Crust, Optional (You can make a beautiful cheesecake without a crust)
10 small pitted dates, 60g, diced
1/2 cup walnuts or pecans

Filling
1 lb cream cheese,
1/4 cup coconut cream, 70g
1/2 cup sugar, 100g
3 eggs
1 1/2 tbsp lime juice, plus the zest of one lime
optional: 1/2 tsp coconut extract


Directions:

  1. Preheat your oven to 325F/165C.

  2. Cheesecakes without crusts are still delicious, especially paired with your favorite in-season, ripe fruit. However, if you’d like to make the crust, dice the dates and add them to the food processor. Blend until a past forms. Next add the walnuts or pecans and pulse until some of the nuts are ground and some are small pieces (the small pieces add a nice crunch). You should be able to squeeze the mixture and it will feel like a dough. If needed, you can add more date pieces.

  3. To make the filling, use a whisk or handheld mixer and whip the cream cheese on low until it is homogenous, being careful not to over mix. Add the coconut cream and sugar and whip until combined. Mix in the eggs one at a time. Stir in the rest of the ingredients.

  4. Optional water bath: usually cheesecake is baked in a water bath so that you end up with gentler cooking to produce a creamier, more consistent texture. However, this is not absolutely necessary. If you’d like to use a water bath boil 1.5 quarts of water. Place your cheesecake in a larger pyrex or pan with sides that are tall, ideally 2 in / 5 cm high. Pour enough boiling water into the empty pan so that the water is about .75 inch / 2 cm high.

  5. Put the cheesecake into the oven (with the water bath) and bake until the top turns a rich golden color. The middle will still be pale. This cheesecake will bake past the point that you would bake a dairy cheesecake.

  6. Allow the cheesecake to cool. Then place it in the fridge until it is cold, at least two hours. Serve cold with fresh fruit or whipped coconut cream.