Whole Grain Fig & Almond Hot Cross Buns (1-Bowl)

What are they like?

- Moist & Light Rolls

- Filled with your choice of filling: Fig & Almond OR Cherry and Ginger

Photographed above are an example of fairly traditional hot cross buns. The recipe below is Whole grain (brown rice and buckwheat) so they are darker in color. The whole grain dough is also thinner than a traditional bun so they are baked in a muffi…

Photographed above are an example of fairly traditional hot cross buns. The recipe below is Whole grain (brown rice and buckwheat) so they are darker in color. The whole grain dough is also thinner than a traditional bun so they are baked in a muffin tin to hold a nice shape.

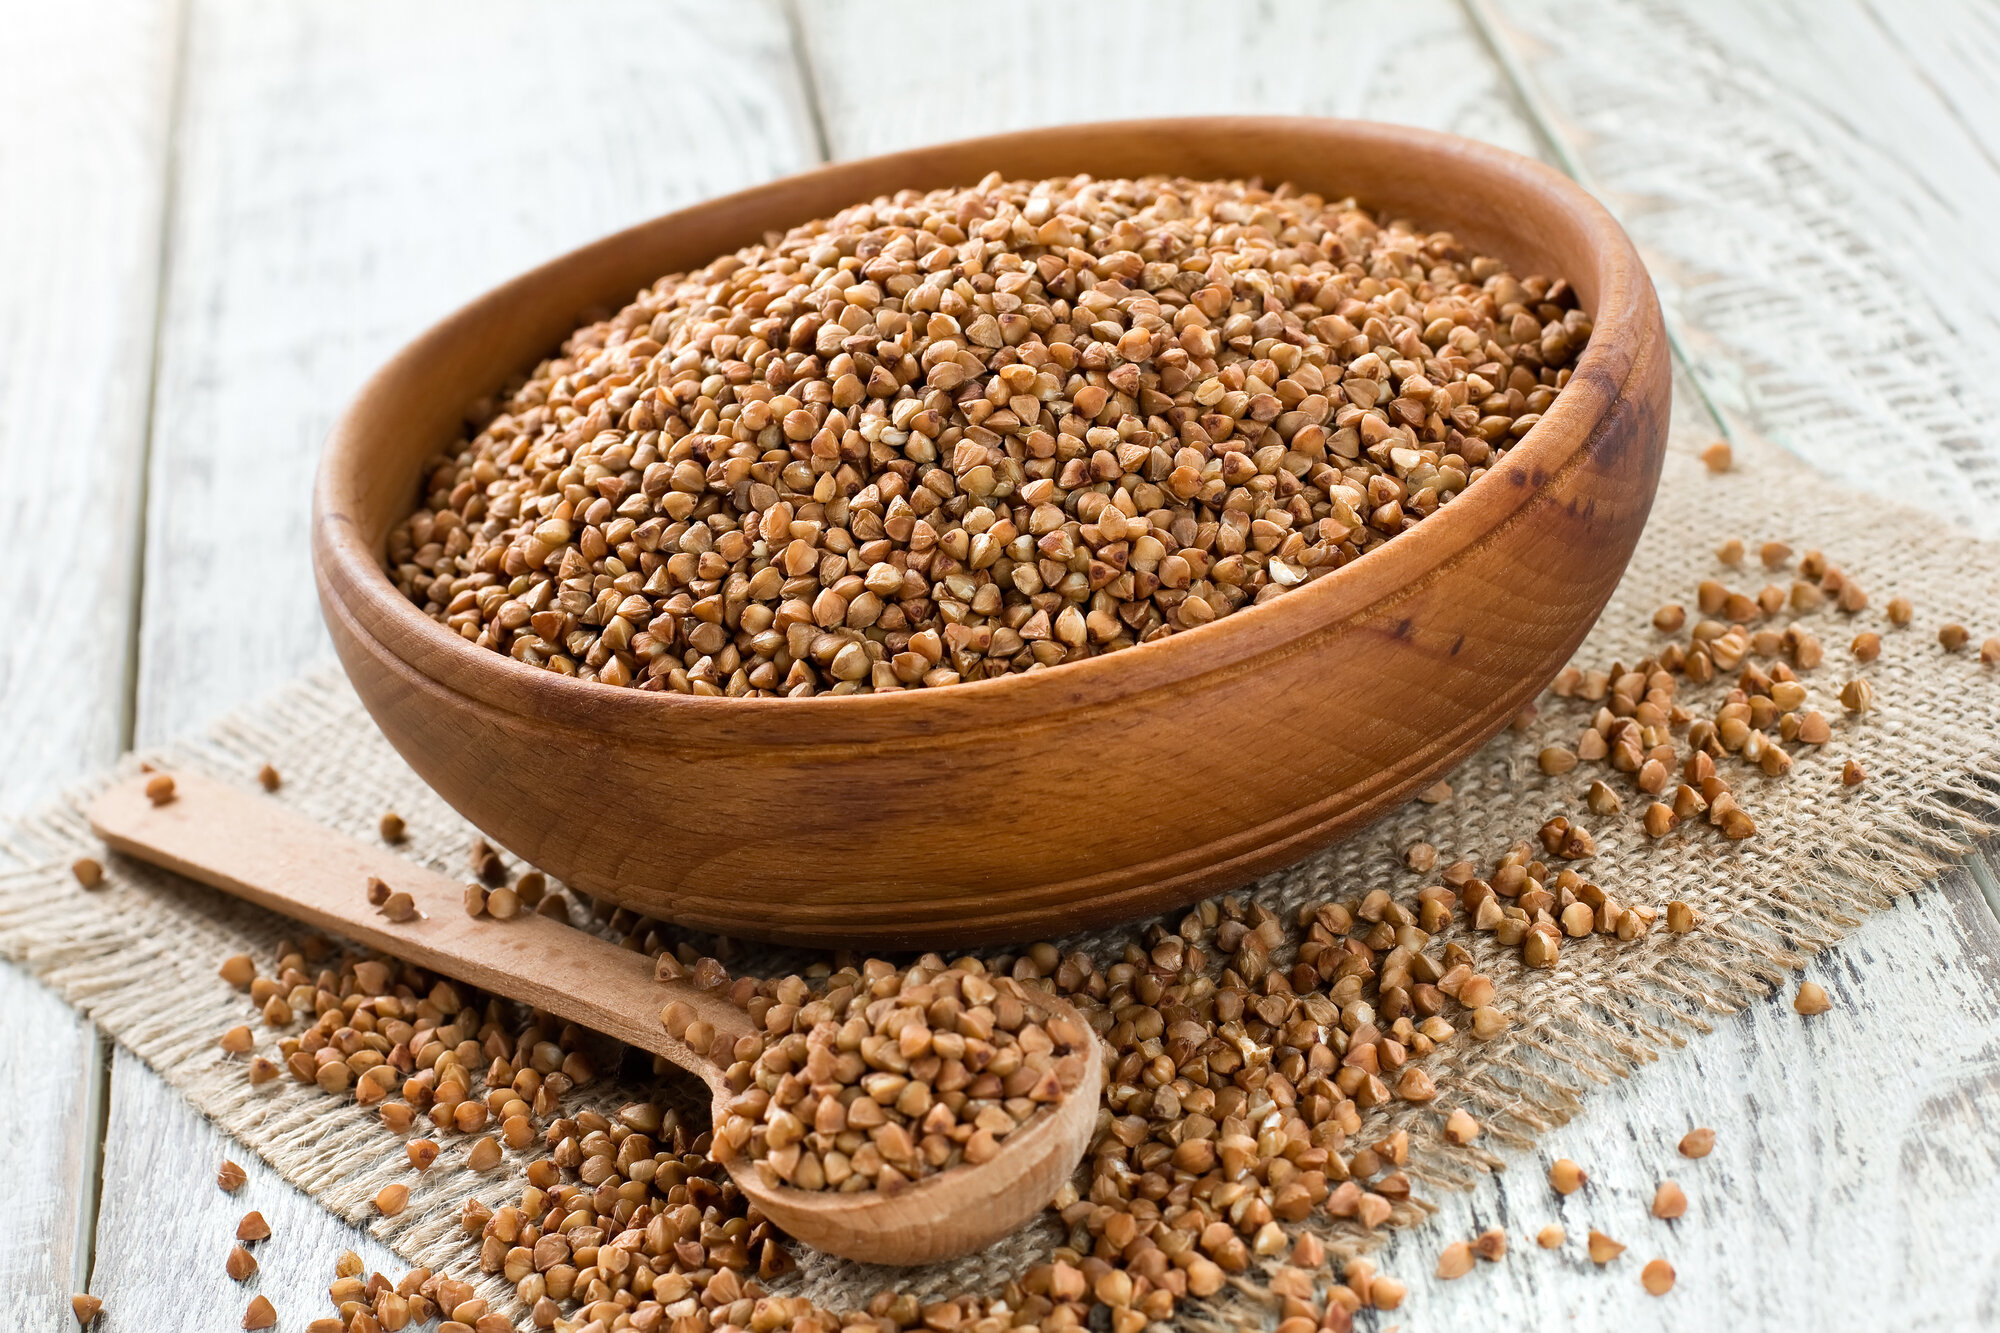
Buckwheat groats pictured above which, despite the name, are naturally gluten free

Buckwheat groats pictured above which, despite the name, are naturally gluten free


Recipe

Makes 10 buns (in a regular sized muffin pan)

Dry
3/4 cup flour mix 100g
2/3 cup buckwheat, 103g
1/3 cup tapioca flour/starch, 40g
1 tsp pumpkin pie spice or British mixed spice
1/2 tsp salt 4g
1 1/2 tsp psyllium husk powder, 6g
1 1/8 tsp instant yeast, 4g

Wet
2 tbsp olive oil, 26g
1 large egg
2 tbsp maple syrup, 30g
1 cup warm water, 236ml/g

Additions (optional)
Flavor 1: 1/3 cup cranberries + 3 tbsp crystallized ginger, diced finely
Flavor 2: 1/3 cup diced figs + 1/4 cup slivered almonds + zest of 1 orange

Icing
1 cup powdered sugar
about 1 tbsp water


Directions:

  1. Whisk the dry ingredients together in a large bowl or in the bowl of a standing mixer with the paddle attachment. Add the wet ingredients and mix on low until amalgamated. Mix on medium speed for about one minute. The dough will be very wet.

  2. Next, mix in the dried fruit (optional). Scoop the dough into a muffin tin or whoopee pie tin. Fill each mold a little over half full so that there is plenty of space for the rolls to rise—and they rise a lot!

  3. Allow to rise until at least doubled in volume. Preheat your oven to 350F / 175C. If using a muffin tin, bake for 25 minutes, or until the tops just begin to brown. If you’re using a whoopee pie tin, the rolls will bake for less time, about 20 minutes because they are smaller.

  4. Allow to cool completely. Then mix together the powdered sugar and just enough water to make a thick drizzle (it should coat the spoon generously). Place the mixture in a piping bag or you can make your own (see note). With the icing, make a cross pattern going all the way across the buns. Allow the icing to set and then serve warm or place in an airtight container. I give them a short zap in the microwave before serving. Enjoy!


Notes:

  • If you prefer to try a savory version of this recipe, you can leave out the dried fruit and frosting and just add a few tablespoons of sunflower seeds and flaxseeds to the dough. Also put a few seeds on top of each roll before baking, and gently press them onto the dough.

  • You can make your own piping bag from a sandwich bag or parchment paper. Alternatively, you can just dollop some icing on top of the buns with a spoon.

1-Bowl Whole Grain Boule Loaf + Video (vegan)

What is it like?

- Moist on the inside with a beautiful, chestnut-brown crust

- Enjoy with butter and jam for breakfast, as an open-faced sandwich, or dipped in soups!

NOTE: The photo avove is a classic boule. The one I made is a smaller, wholegrain version. A smaller loaf is quicker to make and more importantly (in my book at least) it has more crust per volume of bread :-) I HOPE YOU ENJOY THIS TASTY MULTIGRAIN …

NOTE: The photo avove is a classic boule. The one I made is a smaller, wholegrain version. A smaller loaf is quicker to make and more importantly (in my book at least) it has more crust per volume of bread :-) I HOPE YOU ENJOY THIS TASTY MULTIGRAIN LOAF!


Welcome to the gluten free video series (below). It will help you learn tips and techniques and achieve great results.

If you enjoyed the video, please give it a thumbs up 🙂And if you’d like to see more, hit the subscribe button.
(You may need to click on the video title which will take you to Youtube.)


Recipe

This bread is flavored with teff flour, a delicately nutty whole grain. Although technically, teff is a seed and not a grain, which is packed with nutrients. Teff gives the loaf a beautiful, robust and chestnut-brown crust that so many gluten free loaves lack. And this recipes explains how to achieve that crust in a home oven. Enjoy!

Dry
1 1/3 cups Steve’s bread flour, 180g (see note)
2/3 cup teff flour, 105g
1/2 tsp psyllium husk powder
1/2 tsp fine salt, 4g
1 1/8 tsp yeast, 4g

Wet
2 tbsp oil, 26g, plus more for greasing the bowl
1 1/2 cups minus 1 tbsp warm water, 335ml


Directions:

  1. Whisk the flours, psyllium, salt, and yeast together in a large bowl or in the bowl of a standing mixer with a dough hook.

  2. Add the oil and water and mix on low until incorporated. Mix on medium speed for about 1 minute. The dough will be sticky.

  3. Oil a medium sized bowl and place the dough in the bowl to rise until doubled in volume, about 30-60 minutes depending on the ambient temperature. Before the bread is done proofing, preheat the oven to 450F / 230C.

  4. Once the bread is done proofing, gently turn it onto a parchment lined baking tray. Using a knife, make a crisscross score in the top of the dough, each line about 2 inches (5 cm) long and 1/2 cm deep.

  5. Boil 1 1/2 cups water and place an empty baking tray on the bottom rack in your oven. When you put the bread into the oven, pour the boiling water onto the empty baking tray to create steam. Quickly close the oven doors.

  6. After 20 minutes, turn the oven down to 350F / 175C. Bake for an additional 25-40 minutes, just until the loaf is browned on top and it sounds hallow when tapped on the bottom. The bottom of the loaf will be quite dark in color.

  7. Cool completely before slicing. This bread will stay moist for several days and the crust will crisp nicely again when toasted. Keep at room temperature, but if it is not eaten it within a couple of days, it is best to slice and freeze it.


Notes:

  • I use Steve’s bread flour for many recipes so if you’d like to buy it you can also make a exceptional brioche, pita bread, stollen, and an orange olive oil roll (coming soon). This loaf is a small one by design.

  • Smaller loaves take less time to proof and bake. If you’d like to make it larger you can double the recipe, although I would still make two loaves to maximize the beautiful crust and keep a shorter rise/bake time.

  • Steam helps create a beautiful crust that is characteristic of so many beautiful loaves. Note that the crust will soften some as the bread cools, but it will crisp up again after toasting and give you that crunchy/chewy exterior that gluten free breads usually lack. Enjoy!

Stollen Loaf

What is it like?

- Filled with festive flavors

- Easy to adapt to your taste (fill with current, raisins, cranberries, nuts or chocolate!)

Stollen loaf bread dairy free classic recipe
 

Recipe

This bread is delightfully festive. It is rich and tender—similar to brioche but packed with dried fruit, brushed with butter, and covered in a dusting of powdered/icing sugar. It is sure to make a wonderful addition to any holiday dinner.

Dry
2 cups plus 2 tbsp (294g) Steve’s GF Bread Flour Blend (Authentic Foods brand)
2 1/2 tbsp (30g) sugar
1/2 tsp (3g) salt
1 1/8 tsp (3g) instant yeast
1 tsp mixed spice or pumpkin spice (see note)

Wet
3/4 cup (180g) warm water
1/3 cup (45g) Earth Balance Buttery Spread, melted
3 tbsp (40g) olive oil
2 eggs, large

1 cup dried fruit

To finish
2 tsp butter, melted
1-2 tbsp powdered/icing sugar, to dust


Directions:

  1. Combine the dry ingredients (flour, sugar, salt, yeast) in the bowl of the standing mixture.

  2. In a separate bowl, whisk together the wet ingredients (water, butter, olive oil, and eggs).

  3. Add the wet ingredients to the dry and mix using the paddle attachment. Once the flour is incorporated, mix on medium-high speed for 2-3 minutes.

  4. Mix in the dried fruit ingredients until incorporated. Pour into a greased bread pan (8 x 4 inches works well, or about 20 X 10 cm). A larger pan is fine too, as stollen is often wider and flatter.

  5. Cover with a sheet of plastic wrap that has been sprayed with oil so it does not stick to the dough. Place in a warm place until doubled in size, about 1 to 1 1/2 hours. It will feel full of air and slightly “spongy” when it is done proofing.

  6. While the dough rises, preheat oven to 350F/180C. Bake for 45-60 minutes, or until quite browned on top. Allow to cool completely 1-2 hours (see note). Enjoy warm and topped with butter.


Notes:

  • The mixed spice (or pumpkin spice) makes the loaf slightly darker but gives it a wonderful flavor. Recommended!

  • Bake time: bake time for bread can be little tricky. If your loaf ends up being gummy once it has completely cooked, that means it was under baked (or ingredients were not measured properly).

  • Cooling time: If you slice into the loaf when it is warm, it will be a little gummy. The texture 1-2 hours later, once it is cool, is excellent. And it is even better the next day. 

  • Dried fruit: I used an equal mix of 1/4 cup each: currents, cranberries, walnuts, chocolate chips and 2 slices of orange peel. 

Classic Brioche

What are they like?

- Tender & rich

- Good for, well, just about anything (savory or sweet!)

Gluten free dairy free classic brioche recipe
 

Recipe

About 12 Servings, Prep 20 min + 1.5 hours rising and baking

This recipe is slightly adapted from Authentic Foods to be dairy free. These buns can be used for sandwiches, paired with sweet fillings, or simply enjoyed warm with butter. The bread flour blend can be used to make host of other bread recipes, such as baguettes, pita bread, or bagels.

Dry
4 1/4 cups (588g) Authentic Foods Steve’s GF Bread Flour Blend (see note above)
5 tbsp (64g) sugar
1 1/4 tsp (6g) salt
1 packet (7g) instant yeast

Wet
1 1/2 cups (360g) warm water
1/2 cup plus 1 tbsp (104g) Earth Balance Buttery Spread, melted
6 tbsp (80g) olive oil
4 eggs, large


Directions:

  1. Combine the dry ingredients (flour, sugar, salt, yeast) in the bowl of the standing mixture.

  2. In a separate bowl, mix together the rest of the ingredients.

  3. Add the wet ingredients to to the dry and mix using a paddle attachment. Once the flour is incorporated, mix on medium-high speed for two minutes.

  4. Divide the dough into 12 pieces and shape them into domes.

  5. Cover with a flipped over baking tray (leaving space for them to rise). Alternatively, you can use a sheet of plastic wrap that has been sprayed with oil so it does not stick to the buns. Place the buns in a warm place and allow to rise until about double in volume, about 1 hour. If the dough bounces back very slowly when pressed, the buns are done proofing.

  6. While the buns rise, preheat oven to 350F/180C.

  7. Bake for about 20 minutes, or until they start to brown and an instant read thermometer inserted into the middle of the buns reads 190F/88C. Rotate halfway through baking.


Notes:

This dough is on the sticky side. To make it easier to work with, I often oil my hands. Or you can place it in the fridge overnight and work with it when it is cold. The rising period will just take longer (probably about three hours after it is shaped) because the dough will have to come up to room temperature before rising.

Two Hikers on Horseback - Chocolate Amaranth Bars (vegan & paleo)

What are they like?

-deliciously chewy

-packed with cocoa, cinnamon, and pecans

This photo is a picture of traditional Alegria. The recipe below includes cocoa and pecans.

This photo is a picture of traditional Alegria. The recipe below includes cocoa and pecans.


Recipe

These bars are are 5-ingredient, vegan, paleo, dairy free, and of course gluten free. They are a variation on the Mexican candy Alegria which calls for popped amaranth. It can be made with different spices, nuts or seeds. It is also generally made with honey and sugar, but the coconut nectar pairs nicely with the chocolate.

Make ahead, 5-ingredient, Paleo, Vegan, Gluten Free, Dairy Free, Nut free, Stove-top, No-bake

2/3 cup amaranth (see note)
1/3 cup chopped pecans (or substitute 1/4 cup sesame seeds for nut free)
1/2 tsp cinnamon (optional)
1/8 tsp salt
1/4 cup coconut nectar or honey*
1 1/2 tbsp cocoa powder

Directions:

  1. Heat a large, deep pot over medium heat until it is quite hot, for about one and a half minutes. Sprinkle one tablespoon of amaranth into the pan and place the lid on the pan. Remove the pan from the heat and swirl every few seconds to keep the amaranth from burning. You will hear the amaranth popping. Once the popping slows down, pour the amaranth into a medium bowl and repeat the process until you have 1 cup of amaranth. Not all of the amaranth will pop and that is okay.

  2. Stir the cinnamon into the amaranth.

  3. Add the coconut nectar (or honey) to a microwavable measuring cup. Heat for about twenty seconds until it is warm. Whisk in the cocoa powder and salt.

  4. Pour the mixture over the amaranth and stir to combine. Stir in the pecans.

  5. Spoon the mixture onto a 12x12 piece of parchment paper or reusable wax cloth. Using your hands and the parchment paper, press the mixture into a square shape about 1/2-inch thick. Allow it to rest two hour to one day. The longer you let the bars rest the better they will hold together. The bars can be stored in a sealed container for about three days.

Notes:
If you’ve never popped amaranth, you may want to have two bowls. The first time I made it, I burned a tablespoon or two and you can pour the burned batch into a separate bowl. You will most likely end up using about 1/2 cup of the amaranth to make 1 cup of popped amaranth.

If you serve these bars an hour after they are made they won’t hold their shape. If you need them to be ready to serve within an hour substitute 1/4 cup sugar for 1/4 cup of the honey. Heat the honey and the sugar in a small sauce pan to 250F/120C before adding the cocoa and pouring over the amaranth.

*Honey is not vegan